Solar Shingle Installation Cost: A Comprehensive 2026 Guide
The Comprehensive Guide to Solar Shingle Installation
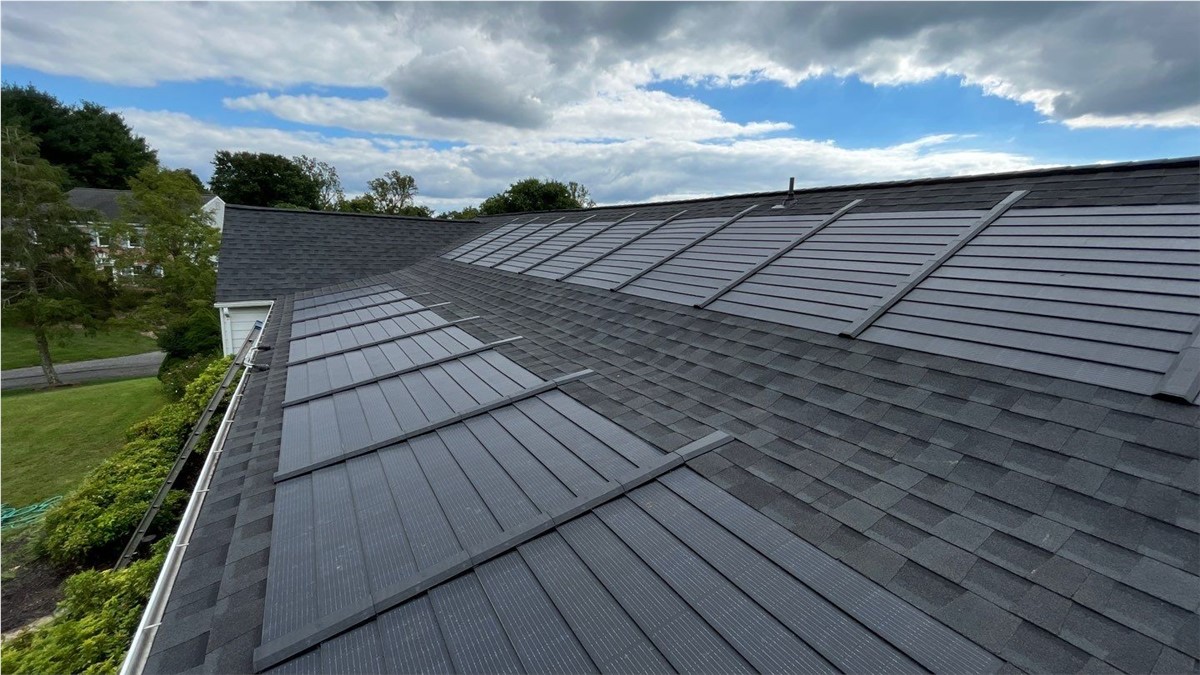
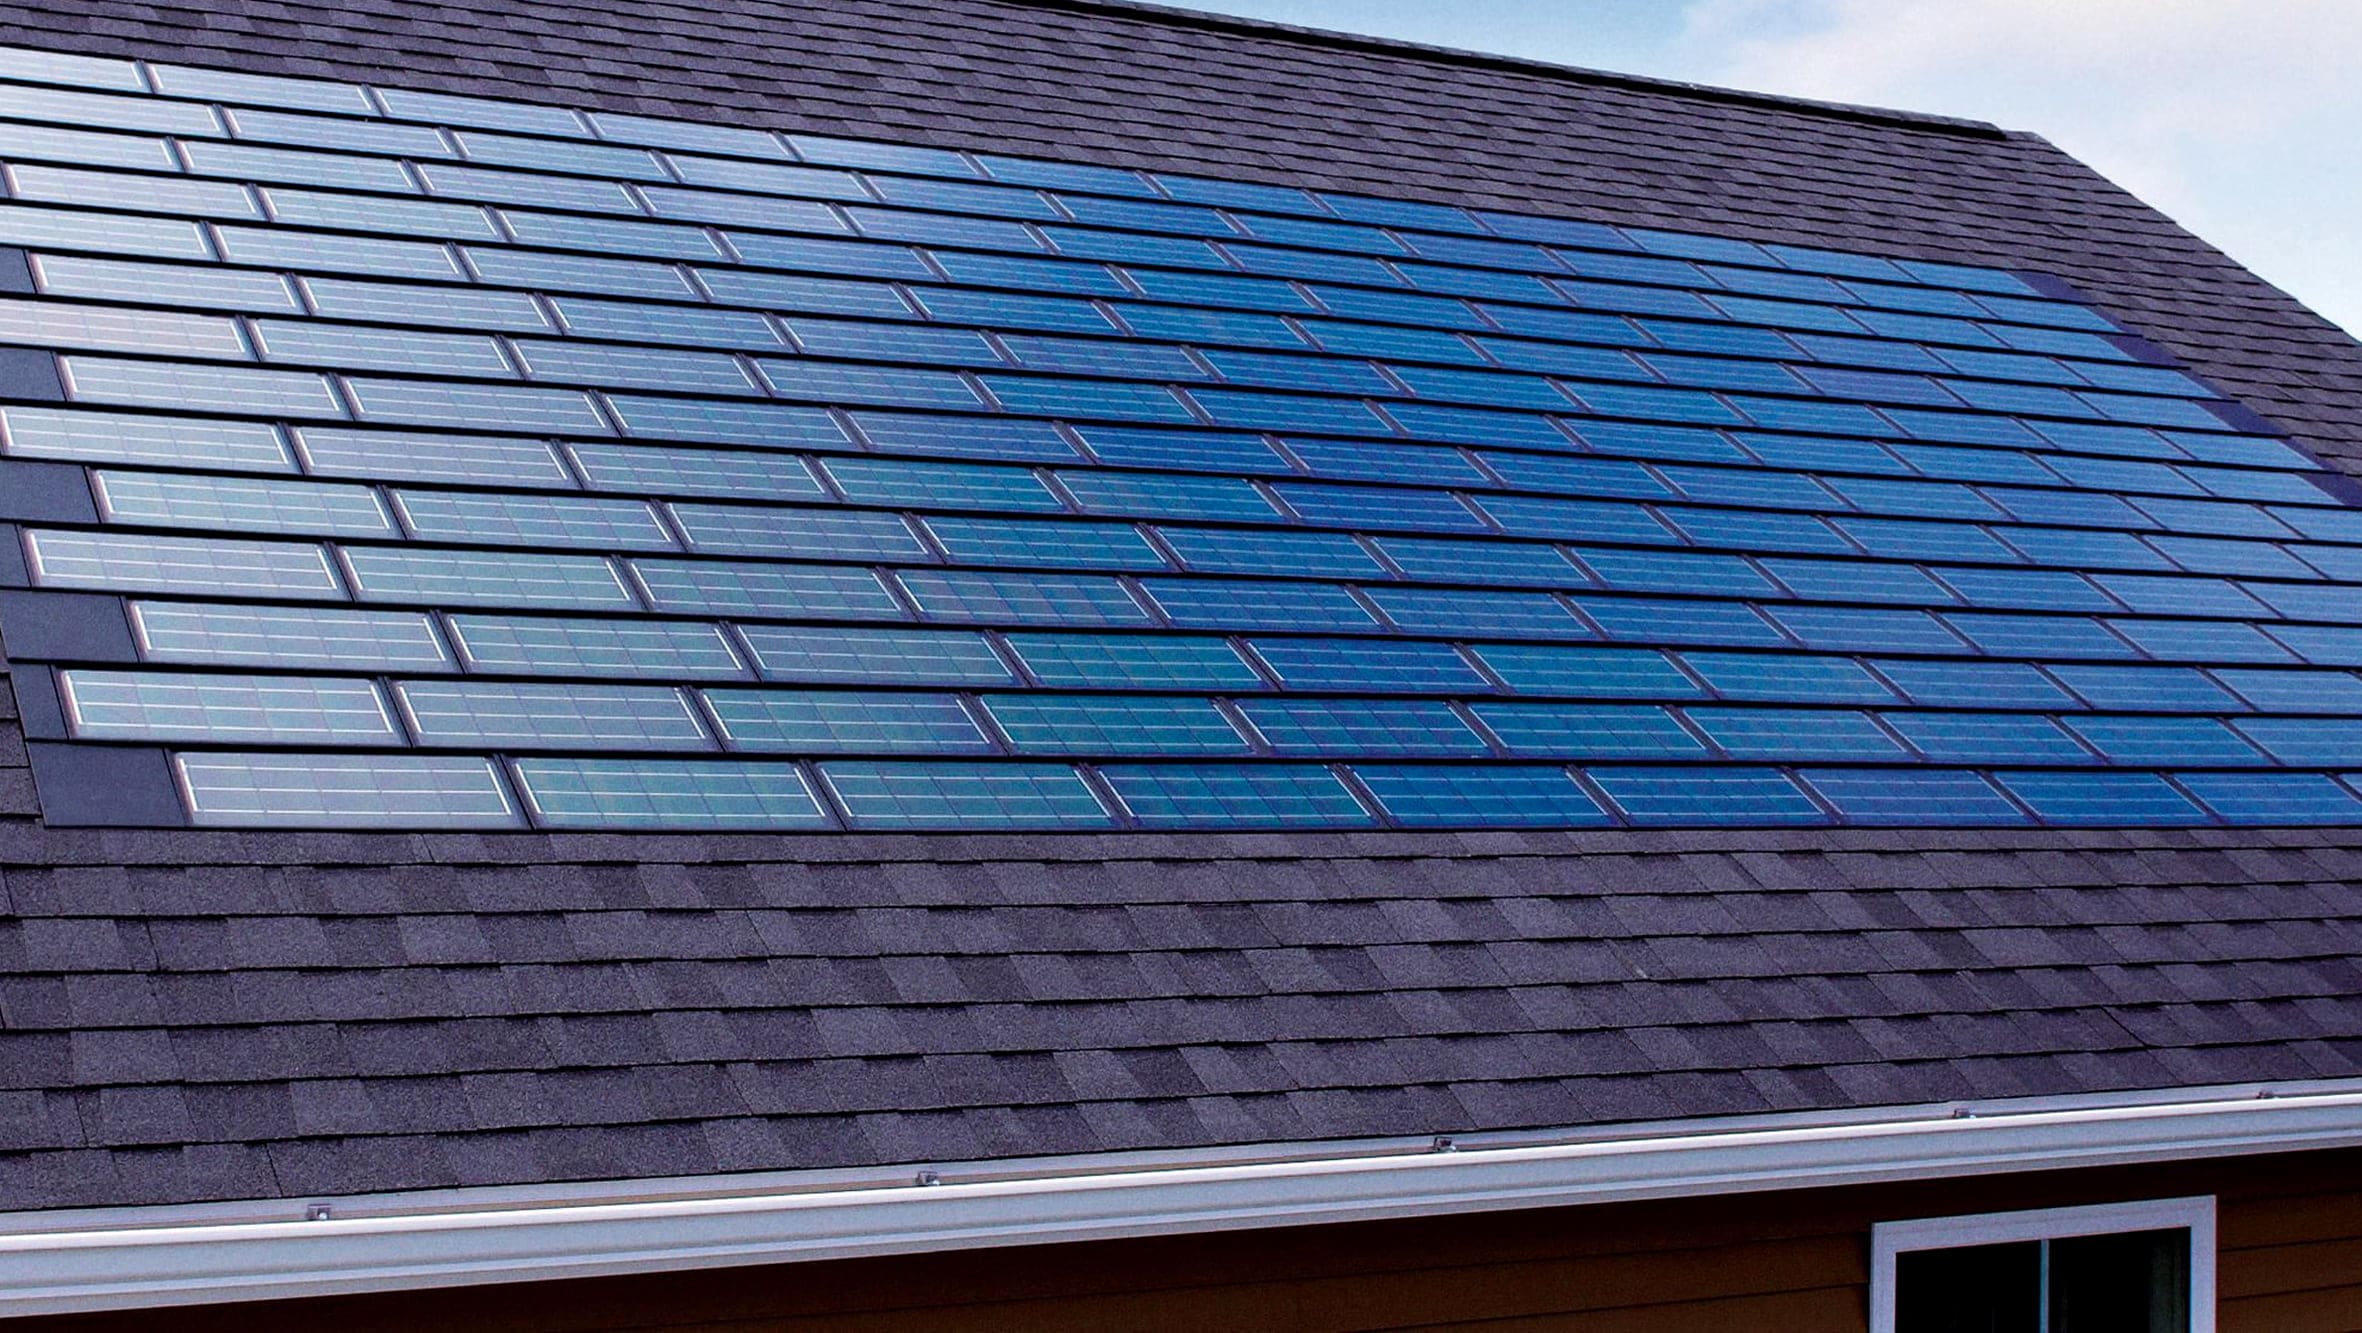
Solar shingles, often referred to as building-integrated photovoltaics (BIPV), represent a significant shift in how residential energy is generated. Unlike traditional bolt-on solar panels, these shingles serve a dual purpose: they act as a durable roofing material while simultaneously capturing sunlight to power the home. This integration offers an aesthetic advantage for homeowners who prioritize a seamless roofline but requires a deeper understanding of the technical and financial commitments involved compared to standard roofing projects.
This guide provides an objective overview of the factors influencing solar shingle installation cost, the different technologies available, and the practical steps required for a successful transition to a solar roof. Readers will learn about the various types of shingles, how to plan for the installation process, and how to evaluate the long-term maintenance requirements of a BIPV system.
Understanding Solar Shingle Installation Cost
The core concept of a solar shingle system is the replacement of traditional shingles with specialized tiles containing photovoltaic cells. Homeowners typically approach this as a “full-system” upgrade, often coinciding with the need for a total roof replacement. Because the product functions as both a power plant and a weather barrier, the solar shingle installation cost is generally higher than traditional solar panels, as it involves specialized labor and integrated electrical components.
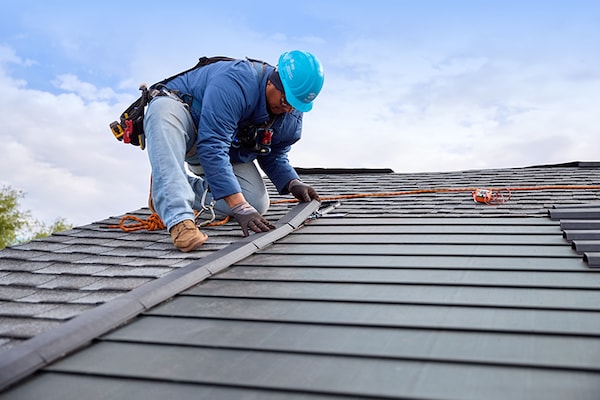
The typical goal for this investment is to achieve energy independence while maintaining the architectural integrity of the home. Expectations should be managed regarding the timeline; because the shingles must be wired together individually or in strings across the roof deck, the labor intensity is significantly higher than that of a standard asphalt shingle installation.
Major Types of Solar Shingle Technologies
Solar shingles are not a monolith; they vary by material composition and how they integrate with existing structures. Choosing the right type depends on the existing roof pitch, local climate, and energy goals.
| Category / Type | Description | Common Use Case | Effort / Cost Level |
| CIGS (Thin Film) | Flexible shingles made of Copper Indium Gallium Selenide. | Curved or irregular roof shapes. | Moderate / Medium |
| Monocrystalline Silicon | Rigid, high-efficiency cells similar to traditional panels. | Maximum power output in limited space. | High / High |
| BIPV Slate/Tile | Designed to mimic natural stone or clay tiles. | Historic or high-end luxury homes. | Very High / Premium |
| Integrated Strips | Long solar modules that lay between standard shingle rows. | Partial roof solarification. | Low-Moderate / Lower |
When choosing between these types, homeowners must balance efficiency against aesthetics. Monocrystalline options offer the highest energy density per square foot, making them ideal for smaller roofs, whereas thin-film CIGS may be more cost-effective for expansive, complex roof geometries where flexibility is required.
Practical Application Scenarios
Scenario 1: New Construction Integration
In this scenario, the solar system is planned during the architectural phase of a new home. This allows for optimal roof orientation (South-facing in the Northern Hemisphere) and pre-wired electrical pathways.
-
Elements: Architectural blueprints, integrated electrical blueprints, specialized flashing.
-
Relevance: This is the most efficient way to manage solar shingle installation cost because labor is consolidated with the initial build, and there is no “tear-off” cost for an old roof.
Scenario 2: Full Roof Replacement (Retrofit)
A homeowner with an aging roof (15+ years) decides to replace the entire surface with solar shingles.
-
Elements: Removal of old shingles, deck inspection, installation of waterproof underlayment, shingle wiring.
-
Relevance: This scenario is common for those who want a uniform look across the entire house while upgrading their energy infrastructure.
Scenario 3: Hybrid “Active and Inactive” Installation
To manage costs, a homeowner installs “active” solar shingles on the sunny side of the house and matching “inactive” (non-solar) shingles on the shaded or North-facing sides.
-
Elements: Matching dummy shingles, string inverters, shade analysis.
-
Relevance: This approach provides a uniform aesthetic while ensuring the homeowner is only paying for power-generating surface area where it is most effective.
Comparison: New construction offers the lowest overall friction, while the hybrid approach is best for budget optimization. Retrofitting remains the most common scenario but requires the most careful site preparation to ensure the existing structure can support the new technology.
Planning and Resource Considerations
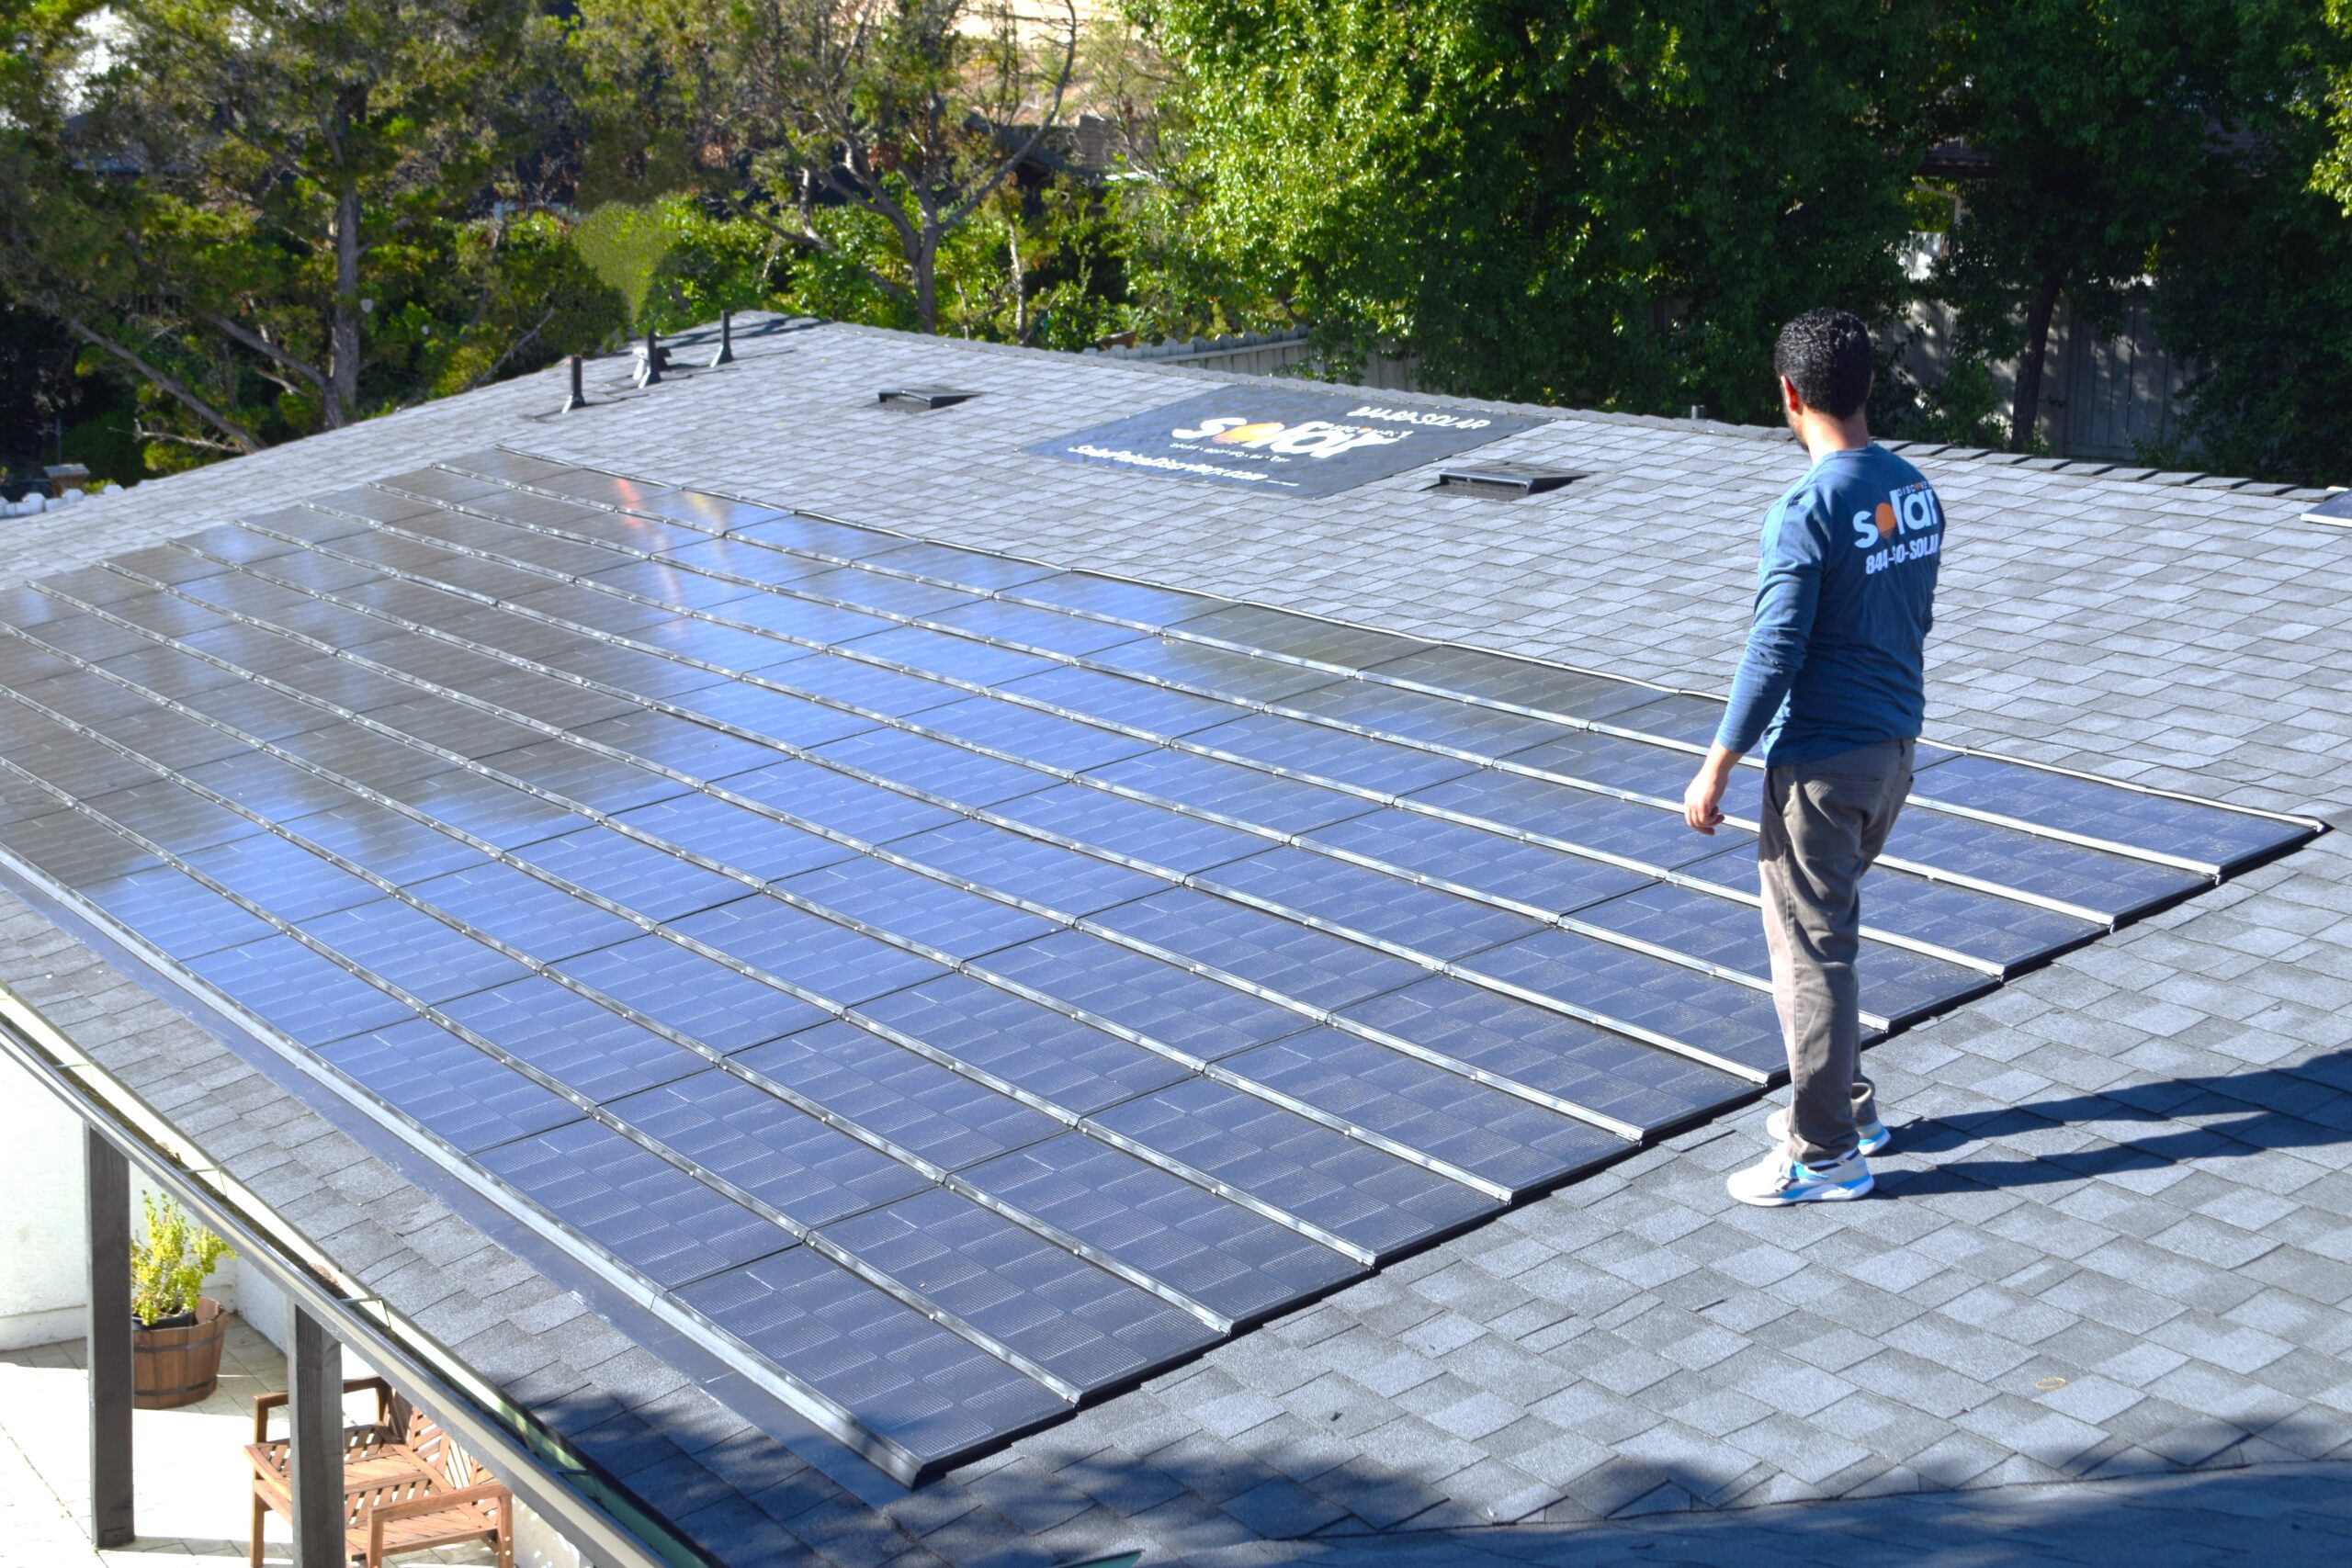
Proper planning is essential because a solar roof is a 25-to-30-year commitment. Budgeting must account for the hardware, the specialized labor of certified electricians, and the structural permitting required by local municipalities.
| Category | Estimated Effort | Explanation | Optimization Tips |
| Permitting | 4–8 Weeks | Local building codes and utility interconnection. | Submit plans early to avoid peak season delays. |
| Structural Audit | 1–2 Days | Ensuring the roof rafters can handle the weight. | Use a licensed structural engineer for the report. |
| Hardware | N/A | The shingles, inverters, and battery storage. | Bulk purchasing through a contractor can lower costs. |
| Labor | 1–2 Weeks | Specialized roofing and electrical work. | Hire “certified installers” to maintain warranties. |
Note: Figures and timelines are examples for illustrative purposes and vary by region and project scale.
Strategies, Tools, and Support Options
Navigating a solar installation requires a mix of specialized software and professional consultation to ensure the system performs as expected.
-
Satellite Shading Analysis: Tools that use aerial imagery to calculate how much sun a roof receives.
-
Pros: Highly accurate; Cons: Can be expensive for a one-time report.
-
-
Microinverters: Devices installed under each shingle or group of shingles to convert power.
-
Pros: If one shingle fails, the rest keep working; Cons: Increases the number of electrical points of failure.
-
-
Utility Interconnection Agreements: Contracts with power companies to sell excess energy back.
-
Pros: Reduces long-term costs; Cons: Requires complex paperwork and specific hardware.
-
-
Certified Installer Programs: Manufacturer-led training for contractors.
-
Pros: Ensures the product warranty is valid; Cons: Often limits the choice of contractors.
-
Safety, Risks, and Common Challenges
Installing a solar roof involves risks ranging from high-voltage electrical hazards to structural integrity issues.
-
Improper Flashing: If shingles are not flashed correctly, water can seep into the electrical connections. Prevention: Ensure the roofing team has specific BIPV experience.
-
Heat Accumulation: Solar cells lose efficiency as they get hot. Prevention: Use shingles with built-in ventilation channels or “stand-off” designs.
-
Grid Incompatibility: The home’s electrical panel may not be rated for the solar input. Prevention: Conduct a pre-installation electrical audit and upgrade the breaker panel if necessary.
-
Inadequate Shading Management: A single chimney shadow can significantly drop the output of a traditional string system. Prevention: Use power optimizers or microinverters to isolate shaded sections.
Maintenance and Best Practices
Ongoing management ensures the solar shingle installation cost is offset by consistent energy production over the decades.
-
Annual Cleaning: Gently remove debris, leaves, or snow using a soft roof rake or water (no pressurized air or harsh chemicals).
-
Visual Inspections: Check for cracked glass or loose shingles after major storm events.
-
Inverter Monitoring: Use the system’s software to check daily production levels; a sudden drop usually indicates a localized failure.
-
Professional Servicing: Every 3–5 years, have an electrician check the torque on connections and the integrity of the conduit.
Documentation and Reporting
Documenting the installation process is vital for warranty claims and future home appraisals. Homeowners should maintain a “Project Binder” that includes:
-
The Site Map: A diagram showing exactly where each “active” shingle and its corresponding wiring is located.
-
Warranty Certificates: Both for the product (materials) and the workmanship (labor).
-
Production Reports: Monthly logs of kilowatt-hours generated.
Example 1: A homeowner saves their satellite shading report to prove to a future buyer that the roof is optimally placed.
Example 2: An installer provides a digital map of microinverters so that if one fails in year ten, it can be found without tearing up the whole roof.
Closing Summary
The transition to a solar roof is a multifaceted project that blends traditional construction with advanced renewable energy technology. While the solar shingle installation cost represents a significant upfront investment, the dual-purpose nature of the product and its long-term energy generation capabilities offer a streamlined alternative to traditional solar panels.