Custom Stone Patio Installers: 2026 Professional Planning Guide
The Comprehensive Guide to Custom Stone Patio Installation
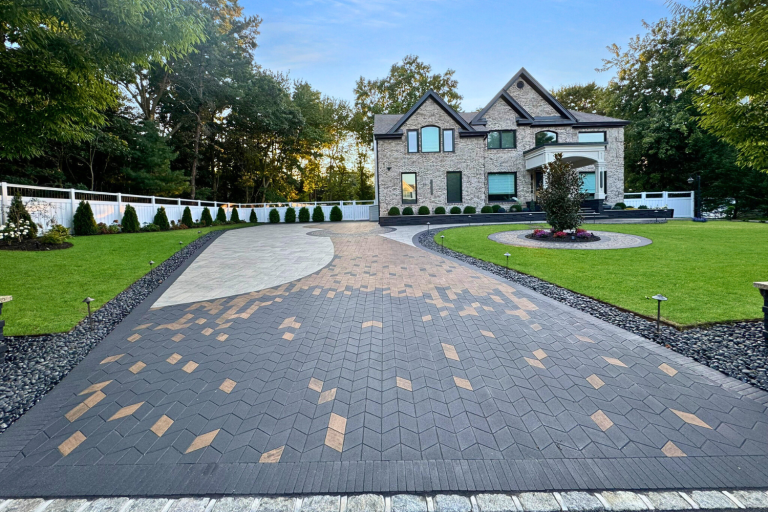
A custom stone patio serves as a foundational element of outdoor architecture, providing a durable and aesthetically versatile surface for recreation and social interaction. Unlike standardized concrete slabs or wooden decks, stone patios utilize natural materials—such as flagstone, slate, granite, or limestone—or high-performance manufactured pavers to create a surface integrated with the surrounding landscape. The quality of a patio is dictated not only by the surface material but by the invisible engineering of the sub-base, drainage systems, and soil compaction that prevent shifting and cracking over time.
This guide offers an objective and technical examination of the processes utilized by custom stone patio installers. Readers will gain an understanding of the different installation methods, the geological properties of common stone types, and the logistical phases required to transition from raw land to a finished architectural feature. By exploring the structural requirements and maintenance realities of stone masonry, property owners can evaluate the long-term value and stewardship required for a high-end exterior living space.
Overview of Custom Stone Patio Installers
The primary objective of custom stone patio installers is to create a stable, level, and well-draining exterior floor. This process is distinct from general landscaping in its focus on heavy masonry and civil engineering principles. Professional installers typically approach a project by first analyzing the soil composition and the “grade” (slope) of the property. The goal is to ensure that water is directed away from the home’s foundation while providing a surface that can support the weight of furniture, outdoor kitchens, or heavy foot traffic without settling.
Expectations for a custom installation include a multi-layered assembly: a compacted sub-grade, a geotextile fabric layer to prevent soil mixing, a structural base of crushed stone, and a setting bed of sand or fine gravel. The outcome of a professionally installed patio is a “flexible” or “rigid” pavement system that resists the freeze-thaw cycles common in many climates. Success is defined by a surface that remains flat and structurally sound for 20 to 50 years, maintaining its aesthetic appeal through natural weathering.
Key Categories and Installation Methods
Installers utilize different methods based on the stone type and the intended use of the area. The “Flexible” method is most common for residential use, while “Rigid” methods are used for specific architectural finishes.
| Category / Type | Description | Common Use Case | Effort / Cost Level |
| Dry-Lay (Flexible) | Stone set on compacted gravel and sand with polymeric sand joints. | Residential patios; areas with freeze-thaw cycles. | Moderate / Medium |
| Wet-Lay (Rigid) | Stone set in a mortar bed over a reinforced concrete slab. | Formal courtyards; high-traffic commercial areas. | High / High |
| Permeable | Specialized base and wide joints to allow water to drain into the soil. | Eco-friendly builds; regions with high rainfall. | Moderate / Medium-High |
| Natural Flagstone | Irregularly shaped stones fitted like a puzzle. | Rustic, organic landscape designs. | High / High |
| Dimensional Stone | Precision-cut rectangular or square stones. | Modern, clean-lined architectural styles. | Moderate / Medium-High |
Choosing between these methods depends largely on local climate. Dry-lay systems are often preferred in colder climates because the individual stones can move slightly as the ground freezes and thaws without cracking. Wet-lay systems offer a more “interior” look but require a perfectly engineered concrete base to prevent the mortar joints from cracking due to ground movement.
Practical Scenarios and Applications
Scenario 1: The Sloped Backyard Transformation
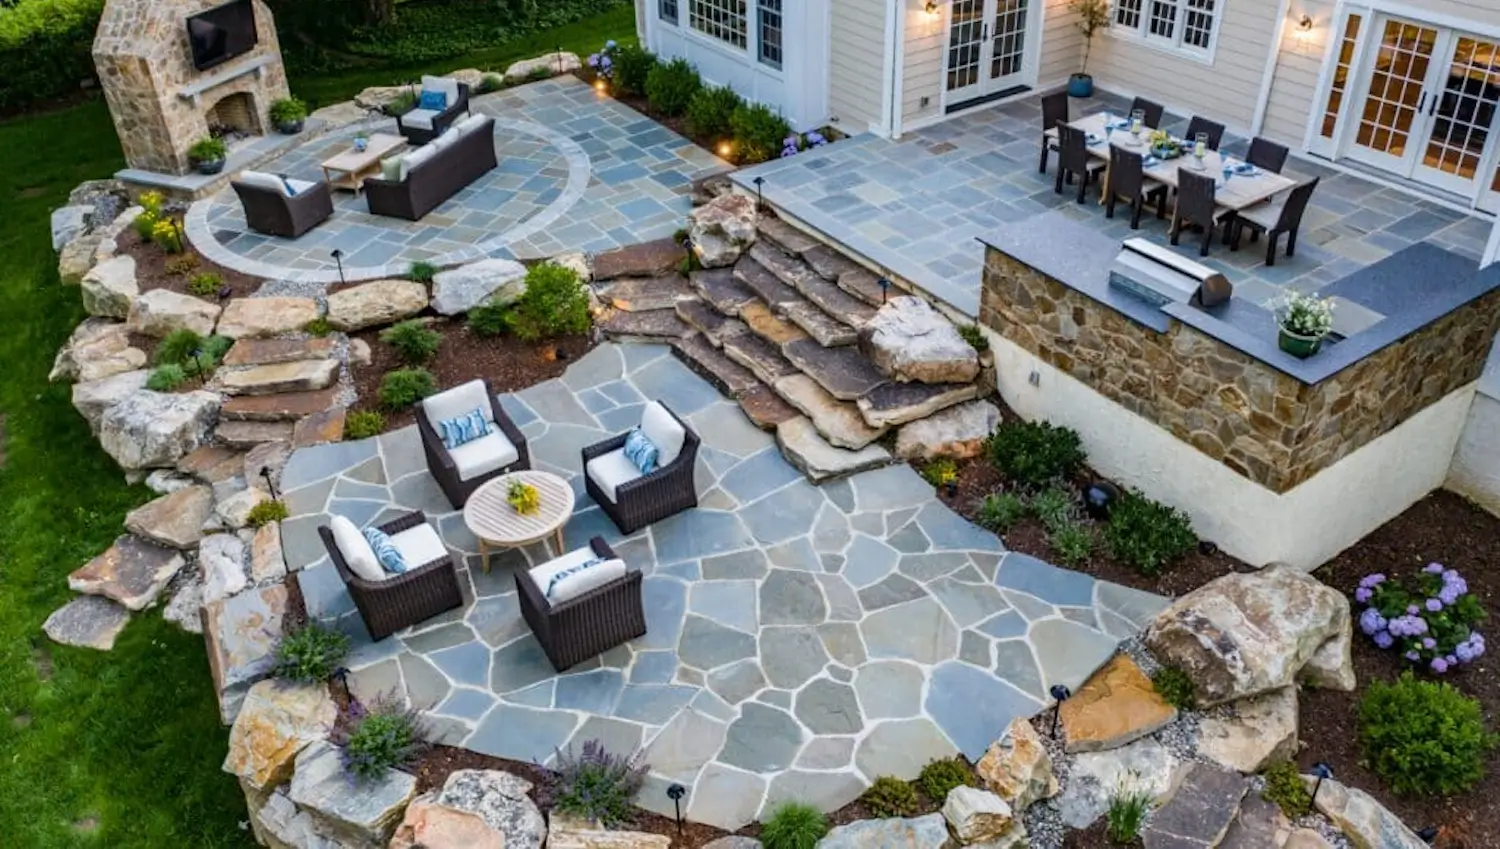
A property with a significant incline requires a patio that also functions as a water management system.
-
Components: Retaining walls, perforated drainage pipes (French drains), and tiered stone levels.
-
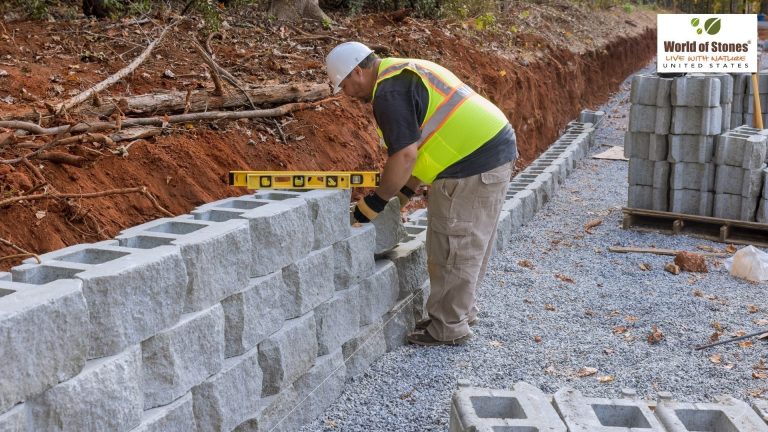
Steps: Excavate the slope, install a drainage system behind the wall, backfill with clean stone, and lay the patio on the leveled tiers.
-
Relevance: This scenario demonstrates how custom stone patio installers solve topographical challenges to create usable space where none existed.
Scenario 2: High-Traffic Outdoor Kitchen Suite
A patio designed to support the weight of a heavy masonry pizza oven and stainless steel appliances.
-
Components: Thick-gauge dimensional pavers or reinforced concrete sub-base.
-
Steps: Double-compact the sub-base, install a thicker 6-inch gravel layer, and use high-strength jointing compound.
-
Relevance: In this case, the structural integrity of the base is paramount to prevent the heavy kitchen components from causing the stone to sink or tilt.
Scenario 3: The Natural Wooded Retreat
A project focused on integrating a patio into an environment with mature trees and irregular terrain.
-
Components: Irregular flagstone (bluestone or limestone) and “breathable” permeable joints.
-
Steps: Hand-cut stones to fit around tree roots (preserving the root zone), use a “no-dig” edging system, and fill joints with fine decorative gravel.
-
Relevance: This scenario prioritizes aesthetics and environmental health, ensuring the patio looks original to the landscape while allowing water to reach tree roots.
Comparison: Scenario 1 focuses on civil engineering; Scenario 2 focuses on load-bearing capacity; Scenario 3 focuses on artistic fitting and environmental preservation. Readers with steep yards suit Scenario 1, while those building exterior structures suit Scenario 2.
Planning, Cost, and Resource Considerations
Meticulous planning ensures the patio does not exceed the budget due to unforeseen excavation issues or material shortages.
| Category | Estimated Amount / Effort | Explanation | Optimization Tips |
| Excavation/Base | 30% of Budget | Removing soil and hauling in tons of crushed stone. | Reuse excavated soil elsewhere on-site to save on hauling fees. |
| Stone Material | $10 – $30 per sq. ft. | The raw cost of the stone (Natural vs. Manufactured). | Sourcing “local” stone reduces transportation costs significantly. |
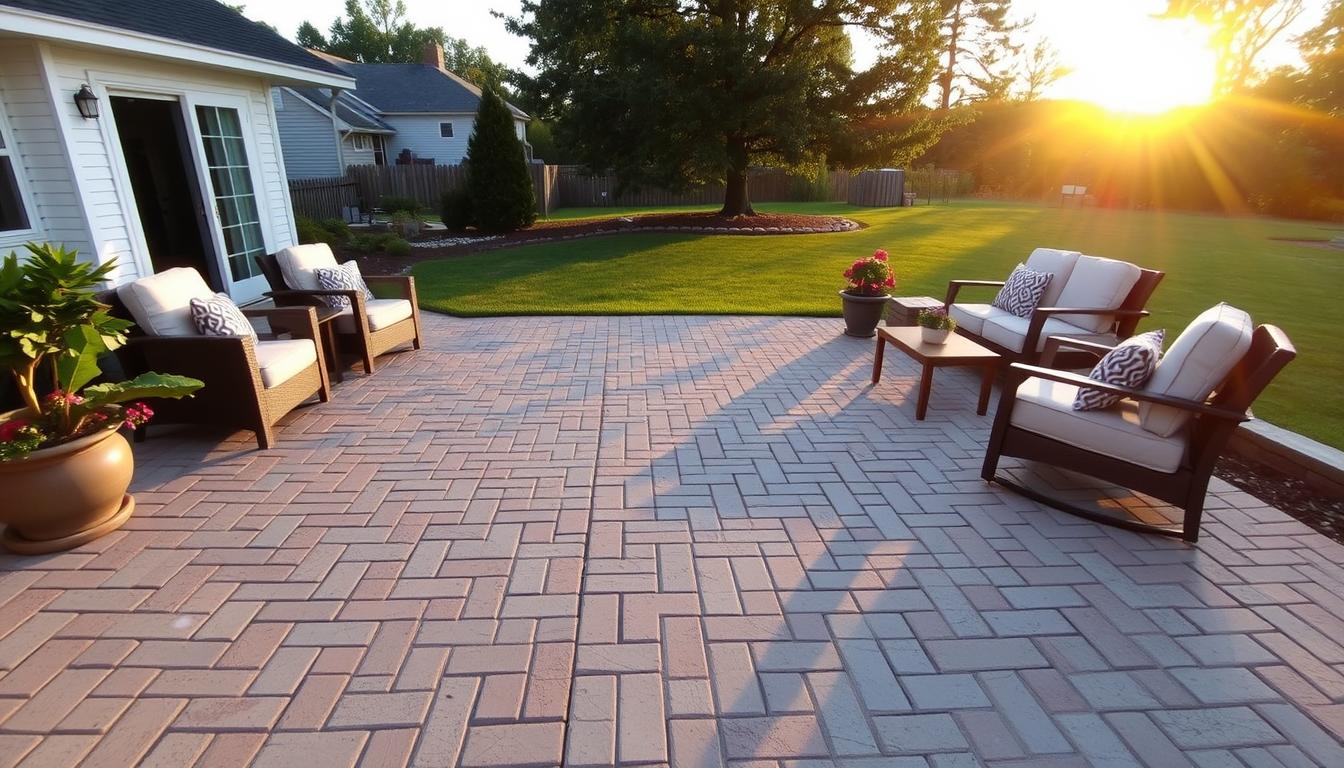
| Labor (Specialized) | 40% – 50% of Budget | Skilled cutting, fitting, and leveling. | Complexity of the pattern (e.g., Herringbone) increases labor. |
| Drainage/Permits | $500 – $2,500 | Ensuring runoff meets municipal codes. | Always call “811” to mark underground utilities before digging. |
Note: Figures are examples for illustrative purposes. 2026 data indicates that custom natural stone remains a premium investment compared to poured concrete.
Technical Strategies and Support Options
Installers utilize specific tools and materials to ensure the patio’s surface remains uniform over time.
-
Polymeric Sand: A high-tech sand infused with polymers that “lock” when wetted.
-
Advantages: Prevents weed growth and ant hills; resists washouts. Disadvantages: Must be applied to bone-dry stone.
-
-
Plate Compactors: Vibratory machines used to settle the gravel base.
-
Advantages: Reaches “98% Proctor density” to prevent future sinking. Disadvantages: Loud and requires significant physical effort to operate.
-
-
Geotextile Fabric: A heavy-duty fabric placed between the soil and the gravel.
-
Advantages: Prevents the gravel from “sinking” into the mud over time. Disadvantages: Minor additional material cost.
-
-
Diamond-Blade Saws: Water-cooled saws used to make precise architectural cuts in the stone.
-
Advantages: Clean edges for modern designs. Disadvantages: Creates significant dust and noise.
-
Safety, Risks, and Common Challenges
Stone masonry involves heavy materials and mechanical equipment that present unique risks.
-
Improper Pitch: Setting the patio too flat or sloping it toward the house. Prevention: Ensure a minimum 2% slope (1/4 inch per foot) away from the house foundation.
-
Utility Strikes: Digging into gas, water, or electrical lines. Prevention: Mandatory utility marking and hand-digging near known service lines.
-
Base Failure: Using too little gravel or failing to compact in “lifts” (layers). Prevention: Install a minimum 4–6 inches of base for patios and 8–12 inches for driveways.
-
Silica Dust Exposure: Inhaling dust from cutting stone. Prevention: Use wet-saw techniques and N95 or P100 respirators for all cutting operations.
Maintenance and Long-Term Management

A custom stone patio is a low-maintenance feature, but it is not “no-maintenance.” Regular care prevents organic staining and joint failure.
-
Spring Cleaning: Use a leaf blower or a stiff broom to remove organic debris (leaves/pollen) which can stain natural stone.
-
Joint Inspection: Every 2–3 years, check for missing polymeric sand or gravel in the joints; top up as needed to maintain the “lock.”
-
Low-Pressure Wash: Every 1–2 years, use a low-pressure wash to remove algae or moss in shaded areas. Avoid high-pressure settings that can etch the stone.
-
Sealing (Optional): Natural stone can be sealed to enhance color and prevent oil stains. Note: Some stones, like slate, require breathable sealers to prevent moisture trapping.
Documentation and Reporting
Documentation is essential for home resale value and for matching materials during future expansions.
-
Stone Source Log: Record the specific quarry, stone name, and color batch (e.g., “Pennsylvania Bluestone, Full Color Thermal”).
-
Sub-Base Photos: Take photos of the excavation depth and the compacted gravel layers before the stone is laid.
-
Drainage Map: A diagram showing the location of buried pipes and pop-up emitters.
Example 1: A homeowner saves a 2026 “Proctor Compaction Report” to prove to a future buyer that the patio was built to engineered standards.
Example 2: An owner maintains a record of the specific polymeric sand color used (e.g., “Tan” vs. “Gray”) to ensure a perfect match during future joint maintenance.
Closing Summary
The work of custom stone patio installers represents a fusion of geological knowledge and civil engineering. By prioritizing a robust, compacted sub-base and ensuring proper water drainage, these professionals create exterior surfaces that endure for decades. Whether utilizing the rustic charm of natural flagstone or the precision of dimensional pavers, the success of a stone patio depends on the quality of the invisible preparation beneath the surface.
FAQ
1. How long does a custom stone patio take to install? A standard 400-square-foot patio typically takes 5 to 10 days, depending on the amount of excavation and the complexity of the stone cuts.
2. Is natural stone better than concrete pavers? Natural stone (like granite or bluestone) is generally more durable and offers unique aesthetics, but it is more expensive and labor-intensive to install than manufactured concrete pavers.
3. Do stone patios need a concrete foundation? Not always. Most residential patios utilize a “flexible” base of compacted gravel and sand, which is less likely to crack in regions with changing temperatures compared to a rigid concrete slab.