Exterior Stone Veneer Installation: 2026 Technical Planning Guide
The Comprehensive Guide to Exterior Stone Veneer Installation
Exterior stone veneer is a protective and decorative cladding material designed to replicate the appearance of solid stone masonry without the structural requirements of full-thickness stone. By utilizing thin layers of natural or manufactured stone, property owners can achieve a high-end architectural finish on a variety of substrates, including wood-framed walls, concrete blocks, and metal structures. The technology behind these systems has evolved significantly, focusing on moisture management and long-term adhesion to ensure the building envelope remains secure against environmental stressors.
This guide provides an objective, technical overview of the processes involved in exterior stone veneer installation. Readers will learn about the different types of veneer materials, the critical layers of the “wall assembly,” and the practical steps required to ensure a professional and durable outcome. By understanding the interplay between drainage planes, mortar chemistry, and stone selection, homeowners and builders can make informed decisions that enhance both the aesthetic value and the structural integrity of a property.

Overview of Exterior Stone Veneer Installation
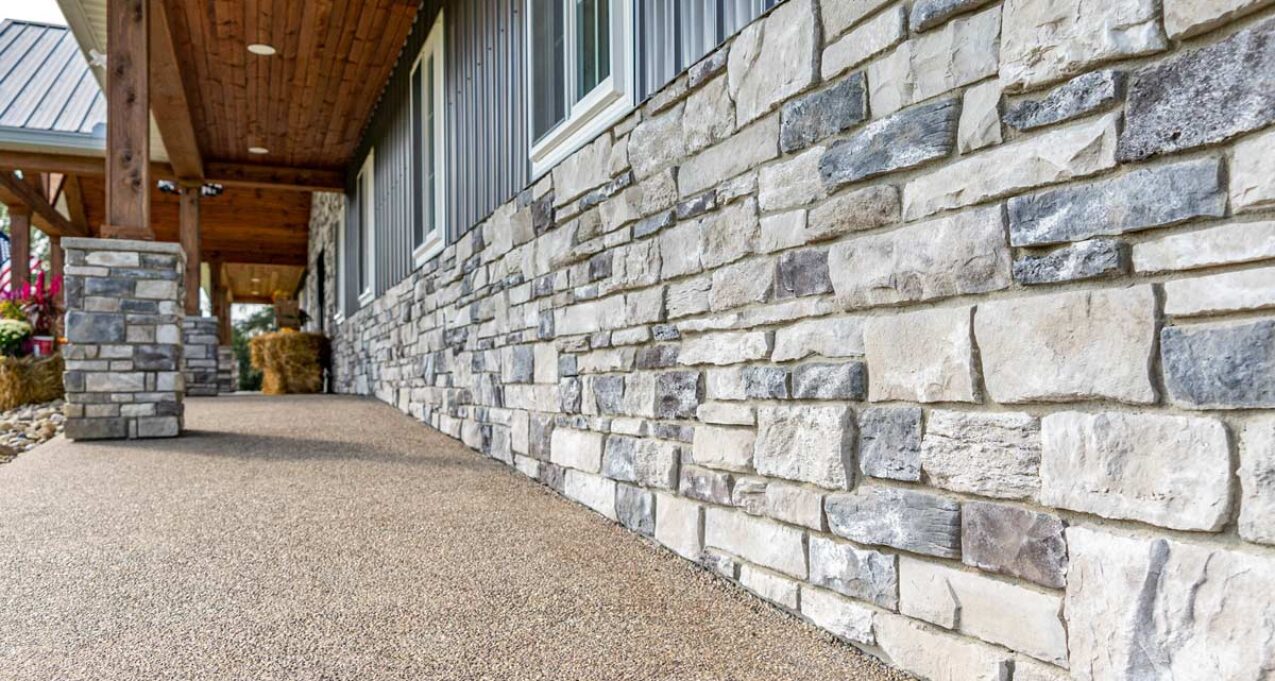
The core concept of stone veneer is “adhered masonry.” Unlike traditional stone walls that support their own weight from the ground up, veneer is bonded to a vertical surface using specialized mortars. The primary goal of exterior stone veneer installation is to create a seamless, natural look while providing a weather-resistant barrier. Property owners typically approach this project to improve curb appeal or to provide a durable finish for foundations, outdoor kitchens, or accent walls.
Successful outcomes depend on a multi-layered approach. The process begins with a weather-resistive barrier (WRB), followed by a drainage mat or lath, a “scratch coat” of mortar, and finally the stone itself. Expectations should be managed regarding the “waterproofing” aspect; stone and mortar are porous, meaning the installation must be designed to manage water that inevitably penetrates the surface. A professional installation ensures that moisture is channeled downward and away from the building’s framing via weep screeds and flashing.
Key Categories and Material Variations
Veneer materials are classified by their origin and the method of attachment. Each type offers different weight profiles and aesthetic characteristics.
| Category / Type | Description | Common Use Case | Effort / Cost Level |
| Natural Stone Veneer | Real stone quarried and cut to roughly 1-inch thickness. | High-end custom homes; historical restoration. | High / High |
| Manufactured (Cultured) | Cast concrete colored with pigments to look like stone. | Standard residential siding; interior accents. | Moderate / Medium |
| Panels / Ledge Stone | Smaller stones pre-mounted on a wire or mesh backing. | Large commercial facades; fast-track projects. | Moderate / Medium-High |
| Mechanical Fix | Large stone slabs held by metal clips rather than mortar. | Contemporary high-rise or commercial buildings. | Very High / High-Premium |
| Faux Polyurethane | High-density foam molded and painted to mimic stone. | DIY-friendly accents; non-structural cladding. | Low / Low |
Choosing between these categories involves a trade-off between authenticity and ease of installation. Natural stone offers unique variations and higher durability against fading but requires a skilled mason to hand-fit the irregular shapes. Manufactured stone is lighter and more uniform, which simplifies the layout process and reduces the structural load on the wall.
Practical Scenarios and Applications
Scenario 1: Residential Foundation Retrofit
Upgrading the look of an exposed concrete foundation on an existing home.
-
Components: Cement board or metal lath, Type S mortar, and manufactured ledge stone.
-
Steps: Clean the concrete surface, attach metal lath with masonry fasteners, apply a scratch coat, and butter the back of the stones for adhesion.
-
Relevance: This is the most common application, providing a visual “grounding” for the house and protecting the concrete from surface-level weathering.
Scenario 2: New Construction Accent Wall
Integrating stone veneer into a new wood-framed building design alongside traditional siding.
-
Components: Two layers of WRB, drainage mat, weep screed, and natural thin-cut veneer.
-
Steps: Install the weep screed at the bottom, wrap the wall in WRB, attach the drainage mat, apply the mortar bed, and fit the natural stones.
-
Relevance: This scenario highlights the importance of moisture management; the drainage mat allows water to move behind the stone without touching the wood sheathing.
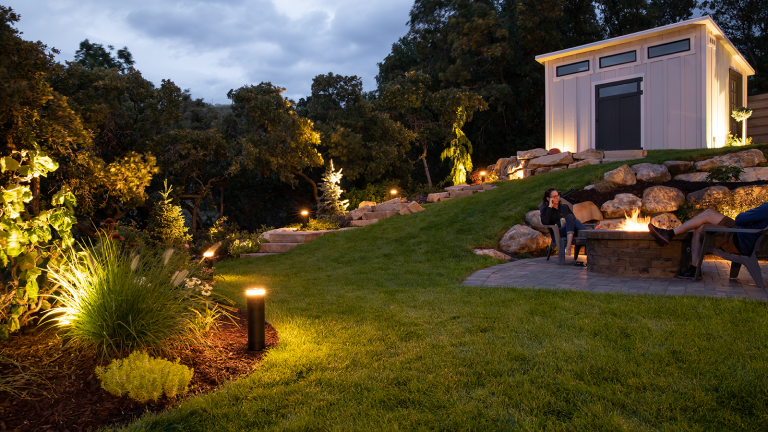
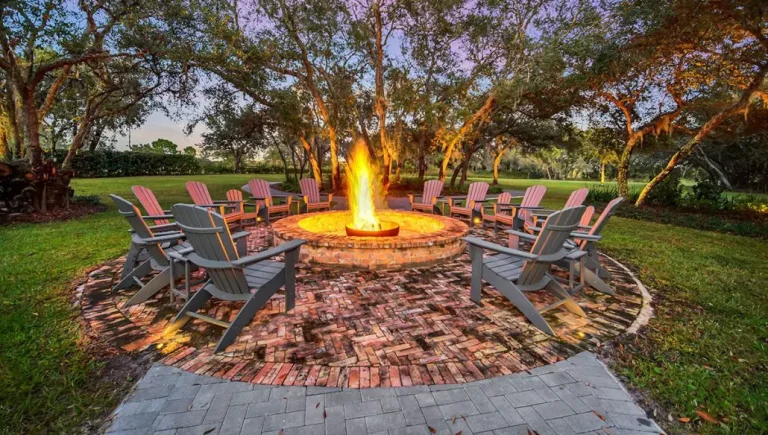
Scenario 3: Outdoor Kitchen and Fire Feature
Applying stone veneer to a masonry-block structure for an exterior culinary space.
-
Components: Fiber-reinforced mortar and heat-resistant stone veneer.
-
Steps: Apply mortar directly to the clean block, press stones firmly into place, and grout the joints for a finished look.
-
Relevance: Because the substrate (block) is similar in composition to the stone and mortar, this is the most stable installation scenario with minimal risk of expansion/contraction failure.
Comparison: Scenario 1 and 3 are relatively straightforward, while Scenario 2 requires rigorous attention to “flashing” where the stone meets the wood siding. Readers in wet climates must prioritize the drainage strategies outlined in Scenario 2.
Planning, Cost, and Resource Considerations
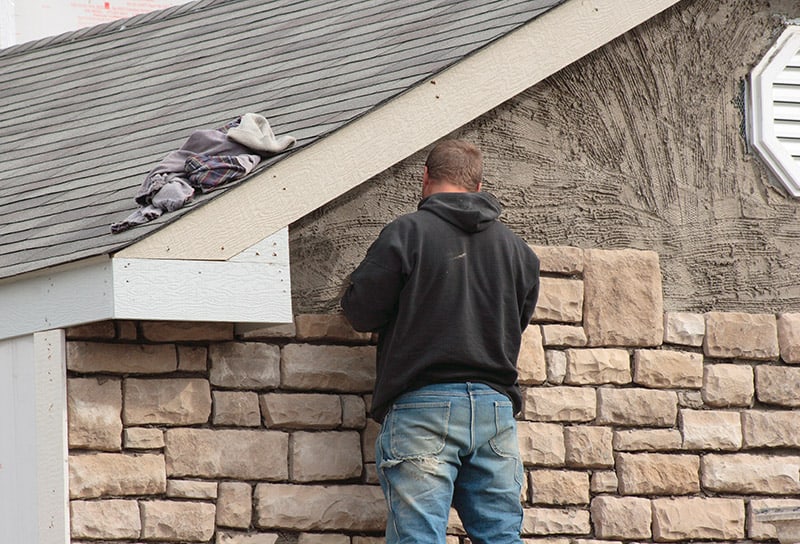
Budgeting for an exterior stone veneer installation involves more than just the cost of the stone; labor and the underlying waterproofing layers account for a significant portion of the total.
| Category | Estimated Amount / Effort | Explanation | Optimization Tips |
| Stone Material | $6 – $20 per sq. ft. | Natural stone is higher; manufactured is lower. | Add 10% for “waste” and “corner” pieces. |
| Underlayment / Lath | 15% of Budget | WRB, metal lath, and weep screeds. | Never skip the second layer of WRB in wet zones. |
| Mortar / Grout | Moderate Effort | Bags of Type S or specialized veneer mortar. | Use polymer-modified mortar for better suction. |
| Labor (Professional) | $10 – $25 per sq. ft. | Skilled masonry and fitting time. | Complex “dry-stack” patterns take longer to install. |
Note: Figures are examples for illustrative purposes. 2026 data shows that natural stone retains value better, but manufactured stone offers a lower entry cost.
Technical Strategies and Tools
Successful stone veneer stays on the wall for decades by utilizing specific bonding and drainage strategies.
-
The “Scratch Coat”: A base layer of mortar applied over lath and horizontally raked.
-
Advantages: Provides a mechanical key for the stones to grip. Disadvantages: Requires 24 hours of curing before stone application.
-
-
Back-Buttering: Applying a thin layer of mortar to the entire back of the stone before pressing it to the wall.
-
Advantages: Ensures 100% surface contact, preventing air pockets. Disadvantages: Increases the weight and mess of the installation.
-
-
Weep Screeds: A perforated metal flange at the base of the wall.
-
Advantages: Allows moisture to exit the wall assembly. Disadvantages: Must be kept clear of soil or mulch to function.
-
-
Masonry Saws / Grinders: Diamond-blade tools used to trim stones for tight fits.
-
Advantages: Essential for clean corners and window transitions. Disadvantages: Creates significant silica dust.
-
Safety, Risks, and Common Challenges
Installation errors can lead to stones falling off the wall or, more seriously, internal rot within the building’s framing.
-
Improper Moisture Barrier: Installing stone directly over wood sheathing without WRB. Result: The wood absorbs moisture from the wet mortar and eventually rots. Prevention: Use two layers of grade-D building paper or a dedicated rainscreen.
-
Mortar “Skinning”: Applying mortar to a wall and letting it dry slightly before pressing the stone. Result: The stone fails to bond and will eventually drop off. Prevention: Only apply mortar to small sections at a time.
-
Lack of Expansion Joints: Stone walls expand and contract with temperature. Result: Cracks through the stones or mortar joints. Prevention: Include vertical expansion joints every 20–30 feet.
-
Silica Dust Inhalation: Cutting stone creates hazardous dust. Prevention: Use wet-cutting methods and P100 respirators.
Maintenance and Long-Term Management
Stone veneer is a low-maintenance material, but it requires periodic review to ensure the drainage systems remain clear.
-
Annual Visual Inspection: Check for loose stones or cracks in the mortar joints.
-
Clear the Weep Holes: Ensure that mulch, soil, or grass is not blocking the bottom weep screed.
-
Gentle Cleaning: Use water and a soft-bristle brush to remove dirt or salt spray. Avoid high-pressure washers, which can force water behind the veneer.
-
Sealant Review: If the stone was sealed to prevent staining, re-apply the sealer every 3–5 years based on manufacturer recommendations.
Documentation and Reporting
Detailed record-keeping is essential for home appraisals and for matching materials during future property additions.
-
Material Batch Numbers: Save the labels from the stone boxes to ensure a color match for future repairs.
-
Installation Photos: Document the “hidden” layers (WRB and flashing) before they are covered by the stone.
-
Example 1: A homeowner saves the specific mortar brand and color (e.g., “Buff” vs “Gray”) to ensure consistency if a new section of the wall is built.
-
Example 2: An owner maintains a record of the “drainage plane” installation to prove to an insurance company that the building meets 2026 moisture-management codes.
Closing Summary
Exterior stone veneer installation is a sophisticated architectural process that balances aesthetic beauty with rigorous moisture management. By selecting the appropriate stone type—whether natural or manufactured—and adhering to a strict multi-layer wall assembly, property owners can achieve a timeless stone appearance that protects the structure. The longevity of the installation depends on proper mortar bonding, the inclusion of drainage planes, and a commitment to keeping the system’s weep points clear of debris.
FAQ
1. Does stone veneer require a concrete footing? No. Because stone veneer is lightweight and adhered directly to the wall, it does not require the structural footing that a full-thickness stone wall would need.
2. Can I install stone veneer over existing brick? Yes, but the brick must be clean and unpainted. Often, a metal lath is attached to the brick first to ensure the new mortar has a mechanical bond.
3. Is stone veneer waterproof? No. Stone and mortar are porous. The system is designed to be “weather-resistant” by allowing water to penetrate the stone and then drain out through a dedicated drainage plane behind it.