Roof Skylight Installation Cost: The 2026 Professional Guide
The Comprehensive Guide to Roof Skylight Installation
Roof skylights are specialized window structures integrated into a building’s roof to provide natural illumination and, in some cases, ventilation. Often referred to as “windows for the roof,” skylights serve a functional role by reducing the need for artificial lighting during daylight hours and can significantly alter the interior atmosphere of a home. Unlike standard vertical windows, skylights are exposed to the full force of the elements, including direct solar radiation, heavy rain, and snow, which necessitates specific engineering and weatherproofing standards during their placement.
This guide provides a neutral, technical examination of the factors influencing roof skylight installation cost, the various technologies currently available, and the practical logistical steps required for a successful project. Readers will learn about the different categories of skylights, the structural considerations for various roof types, and the long-term maintenance required to ensure a leak-free installation. By understanding the interplay between material quality, labor complexity, and structural preparation, property owners can better evaluate the true investment required for a roof skylight.
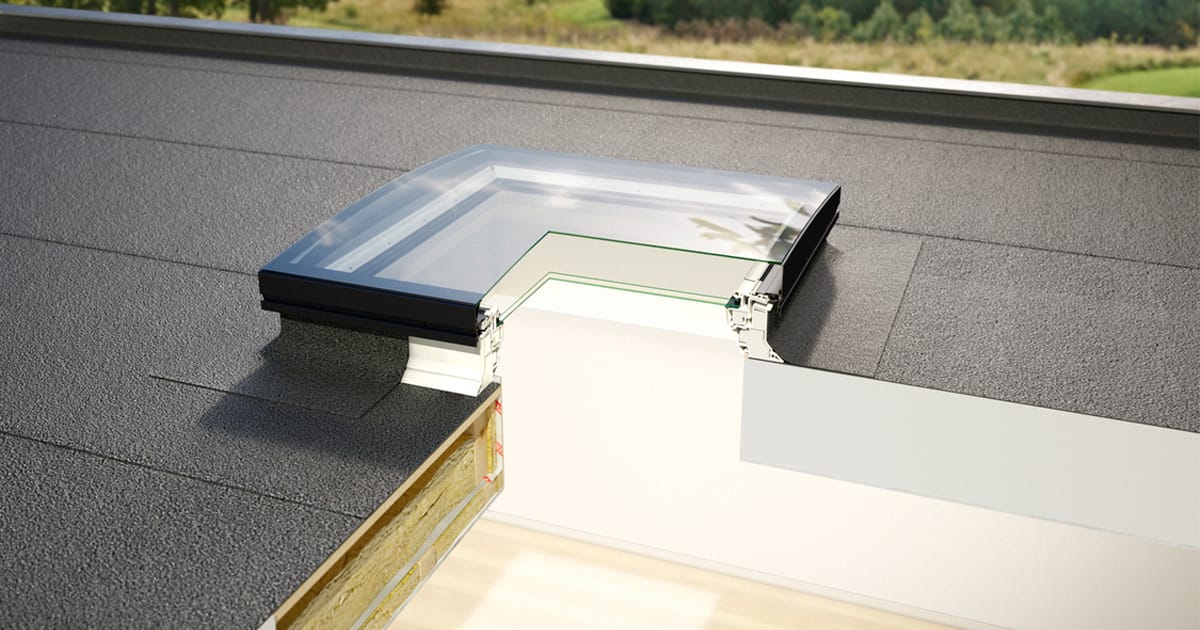
Understanding Roof Skylight Installation Cost
The core concept of a skylight project involves creating a structural opening in the roof and ceiling to allow for the passage of light. The roof skylight installation cost is generally divided between the price of the physical unit and the labor required to integrate it into the building’s envelope. Property owners typically approach this project to brighten dark interior rooms, such as kitchens, bathrooms, or hallways, where traditional windows are not feasible. The typical goal is to improve the aesthetic appeal and energy efficiency of the home by leveraging natural solar cycles.
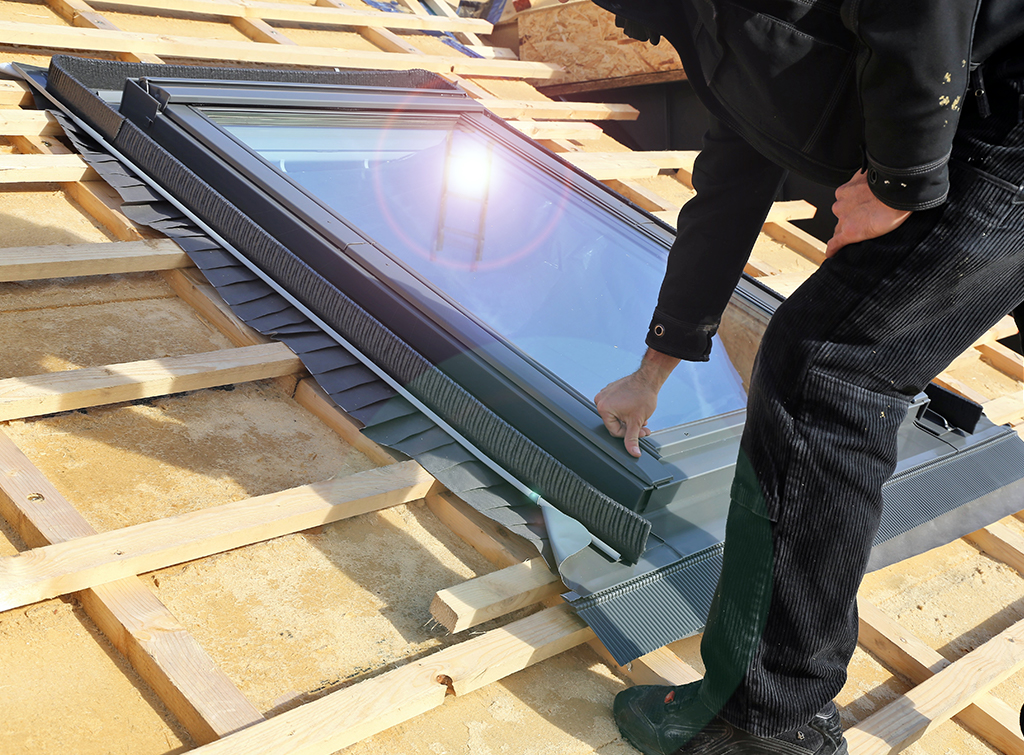
Expectations for a skylight installation must account for the complexity of the roof’s anatomy. A standard installation involves cutting through shingles, underlayment, and roof decking, as well as modifying the interior ceiling and potentially building a “light shaft” or “chase” to funnel light through an attic space. Outcomes are most successful when the installation is treated as a structural modification rather than a simple cosmetic addition. Properly installed skylights are expected to be airtight, watertight, and thermally efficient, contributing to the home’s value without compromising its structural integrity.
Major Categories and Types of Skylights
Skylights vary significantly in their mechanical design and functionality. Choosing the correct type depends on the primary goal—whether it is purely for light, for airflow, or for ease of installation in tight spaces.
| Category / Type | Description | Common Use Case | Effort / Cost Level |
| Fixed | A stationary unit that does not open. Provides light only. | Vaulted ceilings, stairwells, and hallways. | Moderate / Medium |
| Manual Vented | Opens via a hand crank or pole to allow for airflow. | Kitchens and bathrooms requiring moisture control. | Moderate / Medium-High |
| Electric/Solar Vented | Motorized units that open via remote; often include rain sensors. | High ceilings where manual operation is impossible. | High / High |
| Tubular | A small dome on the roof connected to a reflective tube. | Small spaces like closets or laundry rooms. | Low / Low |
| Custom / Bespoke | Made-to-order shapes (pyramids, polygons) or oversized units. | Luxury architectural designs or large great rooms. | Very High / Premium |
When choosing between these types, property owners must consider the “U-factor” (insulation) and “Solar Heat Gain Coefficient” (SHGC). While vented models offer the benefit of fresh air, they involve more mechanical components that may require long-term maintenance. Tubular skylights are often preferred for budget-conscious retrofits because they do not require structural changes to the roof rafters.
Practical Scenarios and Applications
Scenario 1: Retrofitting a Traditional Attic
In a home with a standard attic space, the skylight must be connected to the living area via a “light well” or “chase.“
-
Components: Skylight unit, framing lumber, drywall, insulation, and paint.
-
Steps: Cut the roof and ceiling openings, frame a vertical or splayed shaft through the attic, insulate the shaft walls, and finish with drywall.
-
Relevance: This is the most labor-intensive residential scenario because it involves multiple trades, including roofing, carpentry, and drywall finishing.
Scenario 2: Vaulted or Cathedral Ceiling Installation
The skylight is installed directly into a ceiling that follows the roofline, eliminating the need for a light shaft.
-
Components: Deck-mounted skylight, flashing kit, and interior trim.
-
Steps: Cut a single opening through the roof/ceiling, install the unit, and trim the interior edges for a flush finish.
-
Relevance: This scenario significantly reduces the roof skylight installation cost compared to Scenario 1 due to the lack of complex interior framing and drywall work.
Scenario 3: Tubular Sunlight System for a Dark Hallway
A small, reflective tube is used to bring light into a landlocked interior space where a full skylight is structurally impossible.
-
Components: Roof dome, reflective piping, and a ceiling diffuser.
-
Steps: Cut two small circular holes, snap the reflective piping together, and install the diffuser.
-
Relevance: This is the fastest application, often completed in a few hours, and is ideal for projects where preserving the roof’s structural trusses is a priority.
Comparison: Scenario 1 is best for homeowners seeking a dramatic architectural impact. Scenario 2 is the standard for modern open-plan homes. Scenario 3 is the most practical solution for utility spaces and budget-focused improvements.
Planning, Budgeting, and Resource Considerations
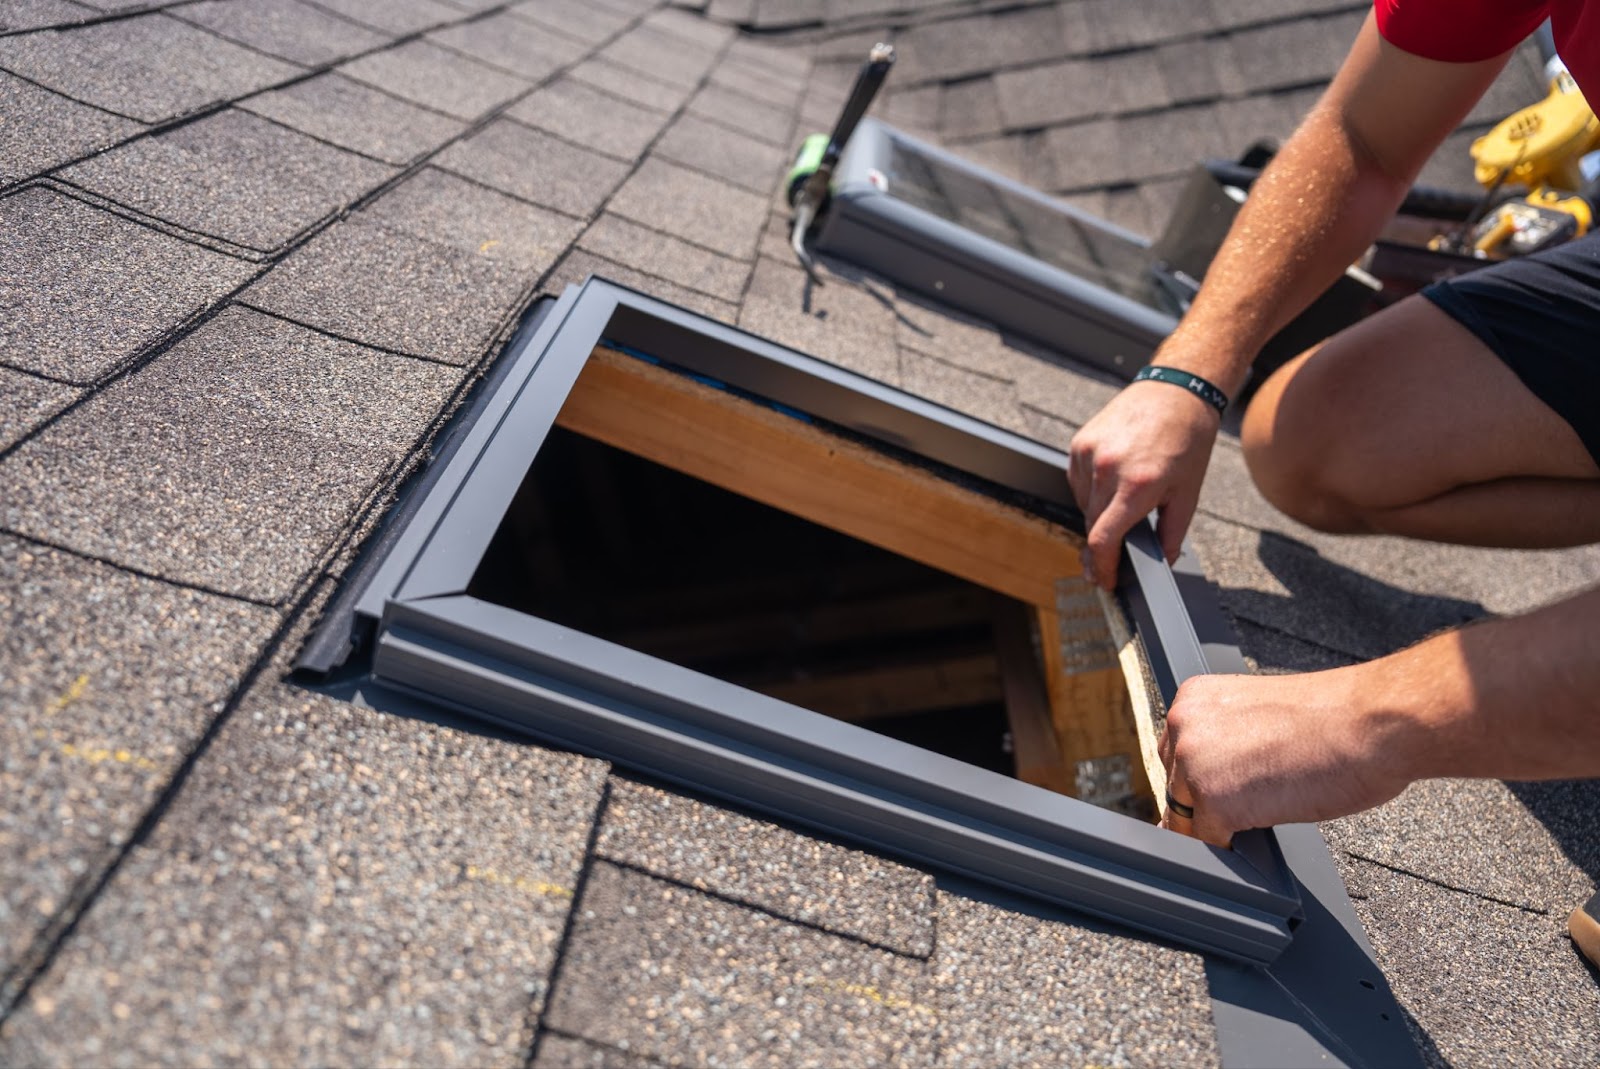
Meticulous planning is required to avoid “scope creep,” where hidden structural issues increase the project’s cost after work has begun.
| Category | Estimated Amount / Effort | Explanation | Optimization Tips |
| Materials | $150 – $2,500 | The skylight unit, flashing, and interior finishes. | Select “standard sizes” to avoid custom fabrication costs. |
| Labor | $500 – $3,500 | Professional roofing and carpentry services. | Bundle with a full roof replacement to save on labor. |
| Structural Audit | $300 – $800 | A structural engineer’s review for large openings. | Required if cutting through more than one rafter. |
| Permits | $50 – $500 | Municipal fees for structural modifications. | Ensure the contractor handles the filing process. |
Note: Figures are examples for illustrative purposes; 2026 data suggests most residential projects range between $1,000 and $3,000 per unit.
Strategies, Tools, and Support Options
Successful skylight integration utilizes specific strategies to ensure energy efficiency and weatherproofing.
-
Flashing Kits: Specialized metal surrounds designed specifically for the skylight model and roof type (e.g., shingle, tile, or metal).
-
Pros: Provides the primary defense against leaks. Cons: Must be matched exactly to the unit.
-
-
Low-E Glass Coatings: Microscopic metallic layers that reflect heat.
-
Pros: Reduces UV fading of furniture and lowers AC costs. Cons: Slightly increases material price.
-
-
Rain Sensors: Integrated sensors that automatically close electric or solar-vented units at the first sign of moisture.
-
Pros: Prevents interior water damage. Cons: Requires a power source or solar battery.
-
-
Splayed Reveals: Angling the interior light shaft wider at the bottom than at the top.
-
Pros: Dramatically increases the spread of light into the room. Cons: More difficult and expensive to frame and drywall.
-
Safety, Risks, and Common Challenges
The most significant risk in skylight installation is a failure in the building’s waterproof seal.
-
Improper Flashing: Relying on sealants or caulk instead of mechanical metal flashing. Result: Chronic leaks that rot the roof deck. Prevention: Use only manufacturer-approved flashing kits.
-
Structural Weakening: Cutting roof rafters without installing proper headers or “trimmers.” Result: Sagging roofline or compromised load-bearing capacity. Prevention: Consult a structural engineer for any opening wider than the space between rafters.
-
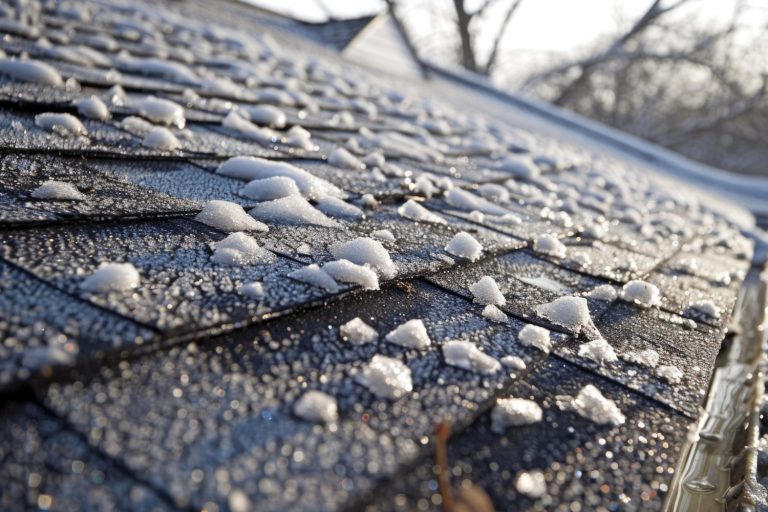
Ice Damming: Heat escaping through a poorly insulated skylight can melt snow, which then refreezes at the eaves. Result: Massive leaks at the roof edge. Prevention: Ensure the light shaft is fully insulated to the same R-value as the rest of the attic.
-
Condensation: Warm interior air hitting cold glass in winter. Result: Water dripping from the unit. Prevention: Choose double- or triple-pane glass and ensure the room has adequate ventilation.
Maintenance and Long-Term Management
A skylight is a mechanical part of the roof and requires periodic review to maintain its lifespan.
-
Annual Cleaning: Remove leaves, twigs, and debris from the top and sides of the flashing to ensure water can flow freely.
-
Seal Inspection: Every 2–3 years, have a professional check the rubber gaskets and the condition of the exterior sealant.
-
Filter Cleaning: For vented models, clean the insect screens and ensure the motorized tracks are free of dust.
-
Monitor the Interior: Check the drywall around the skylight for “bubbling” or stains, which indicate a slow leak before it becomes a major failure.
Documentation and Reporting
Detailed record-keeping is vital for warranties and future home sales.
-
Warranty Certificate: Most premium manufacturers offer a 10-year “No Leak” warranty if installed with their proprietary flashing.
-
As-Built Photos: Photos of the flashing and underlayment before the shingles were replaced.
-
Example 1: A homeowner saves the “U-factor” label from the glass to prove the home’s energy efficiency during a 2026 green-home appraisal.
-
Example 2: An owner keeps a record of the solar-powered model’s serial number to claim the Federal Investment Tax Credit (ITC) for renewable energy.
Closing Summary
The roof skylight installation cost is a variable investment that depends on the chosen unit’s functionality, the complexity of the roof’s structure, and the level of interior finishing required. While basic tubular systems offer an affordable entry point, full structural skylights provide a transformative architectural element. By prioritizing high-quality flashing, proper structural framing, and thermal efficiency, property owners can ensure that their skylights remain a long-term asset rather than a maintenance liability.
FAQ
1. Is it better to replace a skylight when getting a new roof? Yes. It is significantly more cost-effective to replace skylights during a reroofing project because the labor for flashing and shingle integration is already being performed.
2. Do skylights always leak eventually? No. While older models were prone to failure, modern “deck-mounted” units with three layers of protection (sealant, adhesive underlayment, and metal flashing) are designed to be as watertight as the rest of the roof.
3. Will a skylight make my room too hot in the summer? This can happen if you choose standard glass. To prevent heat gain, look for units with “Low-E3” coating and consider installing integrated blinds or shades.